How much does artificial grass cost?
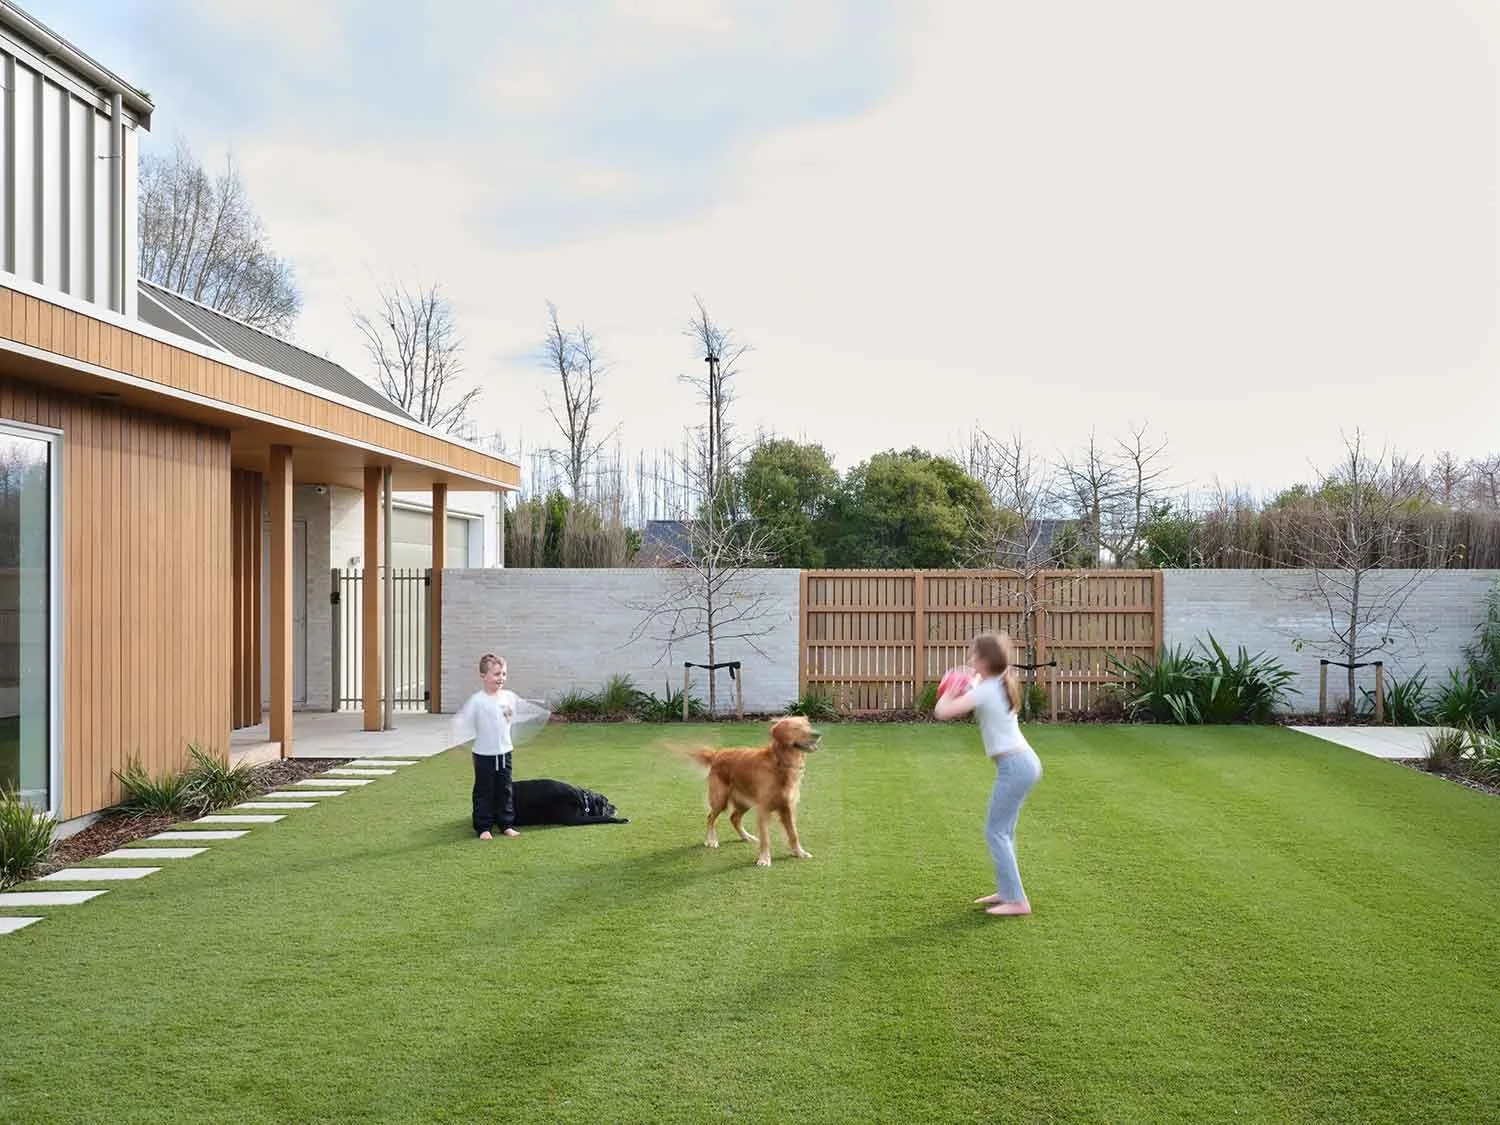
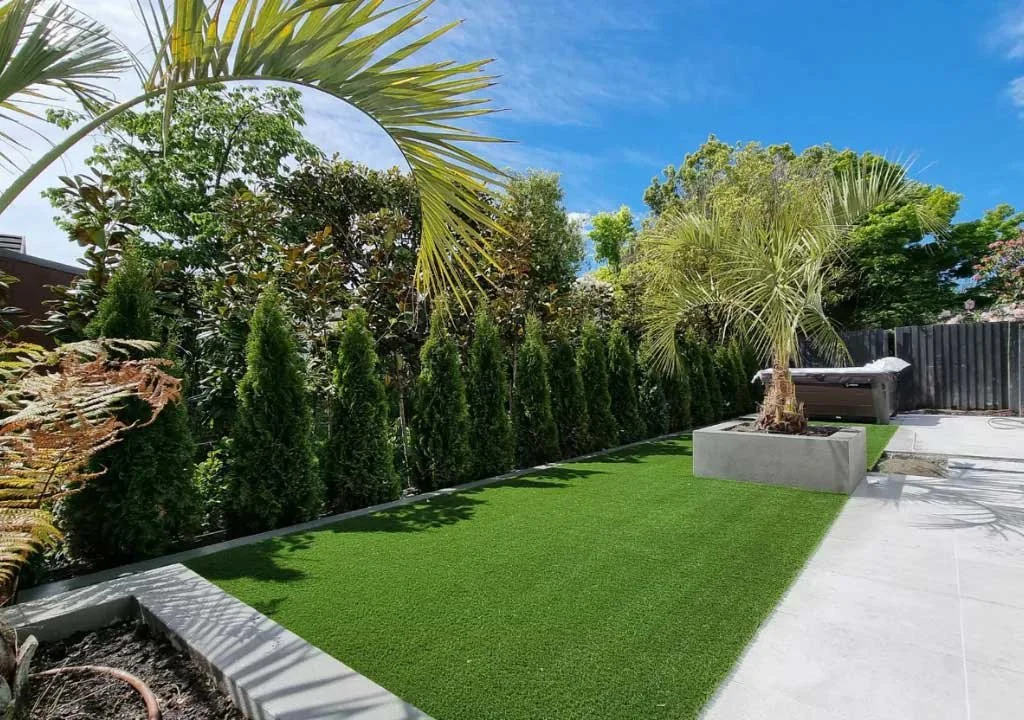
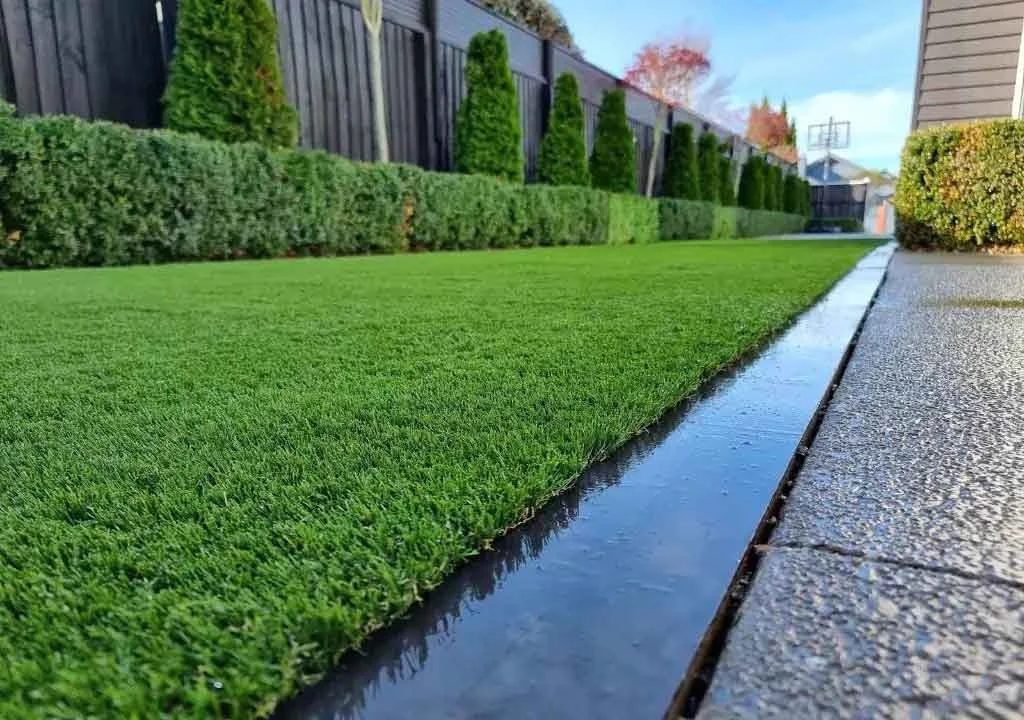
Artificial grass is becoming a popular choice for Canterbury homes. It provides a clean, green lawn all year round without mowing, mud, or constant maintenance.
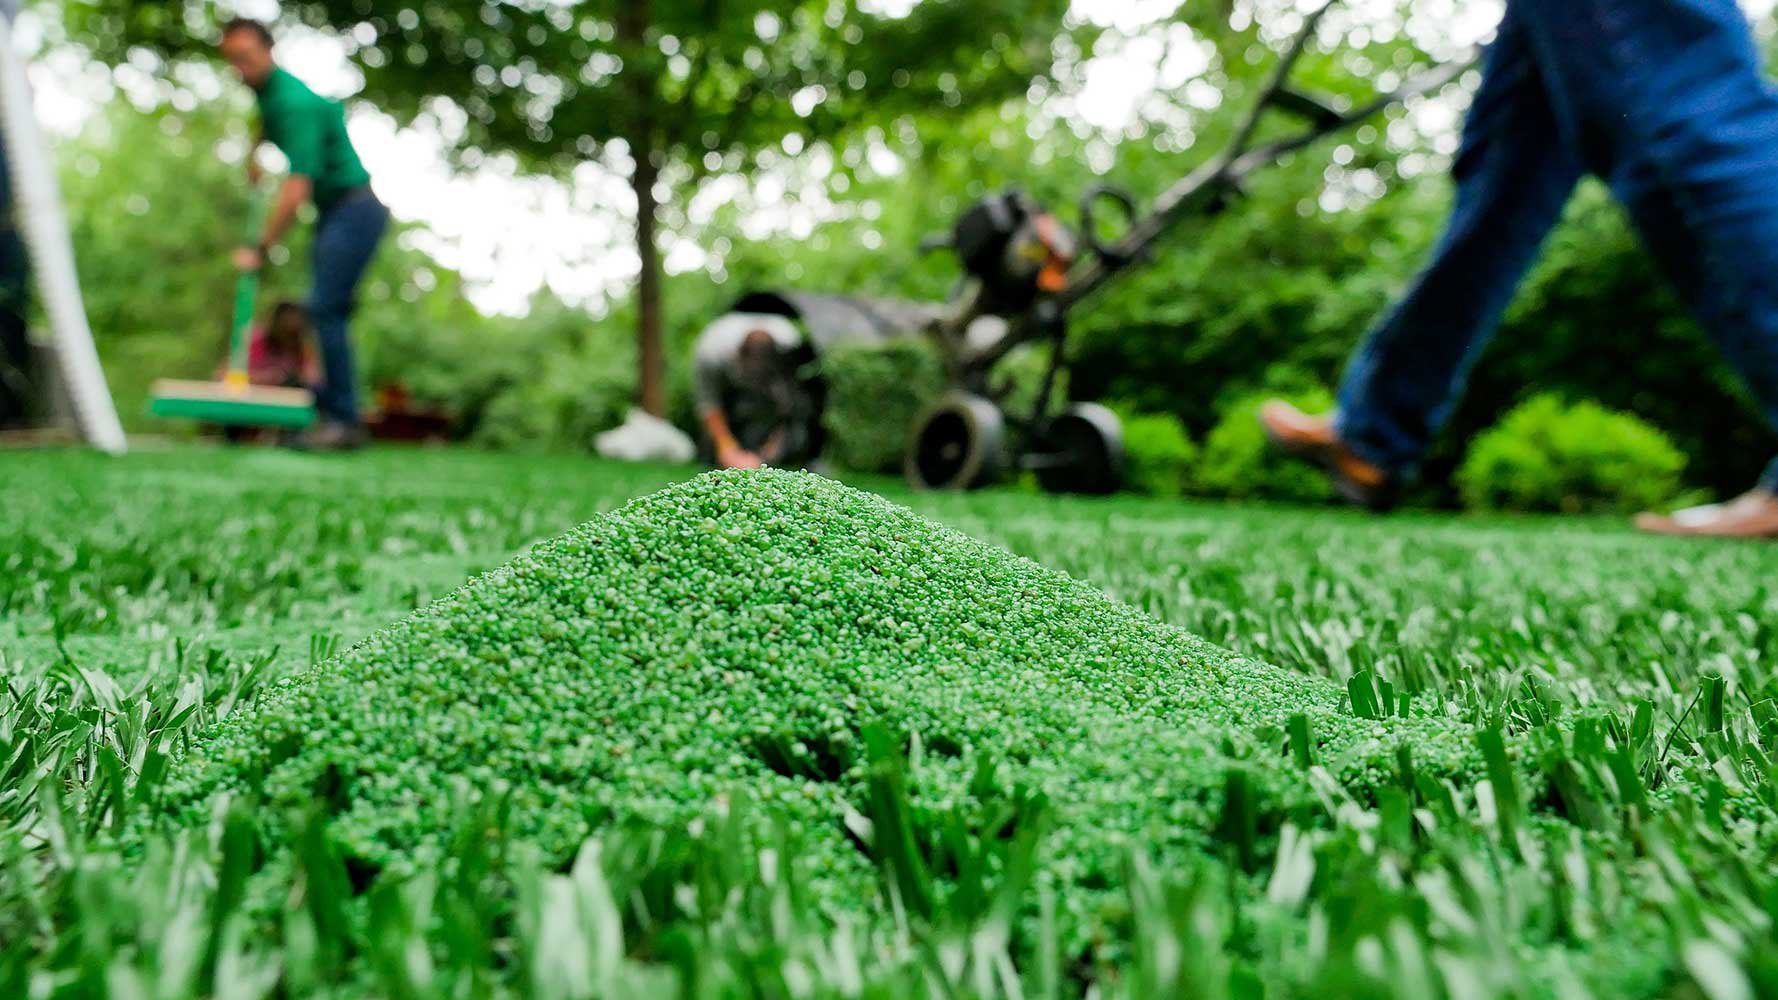
Best artificial grass infill options: sand, Envirofill or rubber crumb?
When planning an artificial lawn, one of the most common questions homeowners ask is: What is the best artificial grass infill?
What is Envirofill? The antibacterial artificial grass infill that keeps lawns fresh
Artificial lawns are designed to make outdoor living easier. No mowing, no muddy patches, and a lawn that stays green all year round.
From patchy to perfect: Why Kiwis are switching to Lifestyle Lawns Artificial Grass
Why more Kiwis are choosing artificial grass
What goes under artificial grass?
When installing artificial grass, understanding what goes underneath it is crucial for ensuring a long-lasting and aesthetically pleasing result.
What is artificial grass infill and which one should you choose?
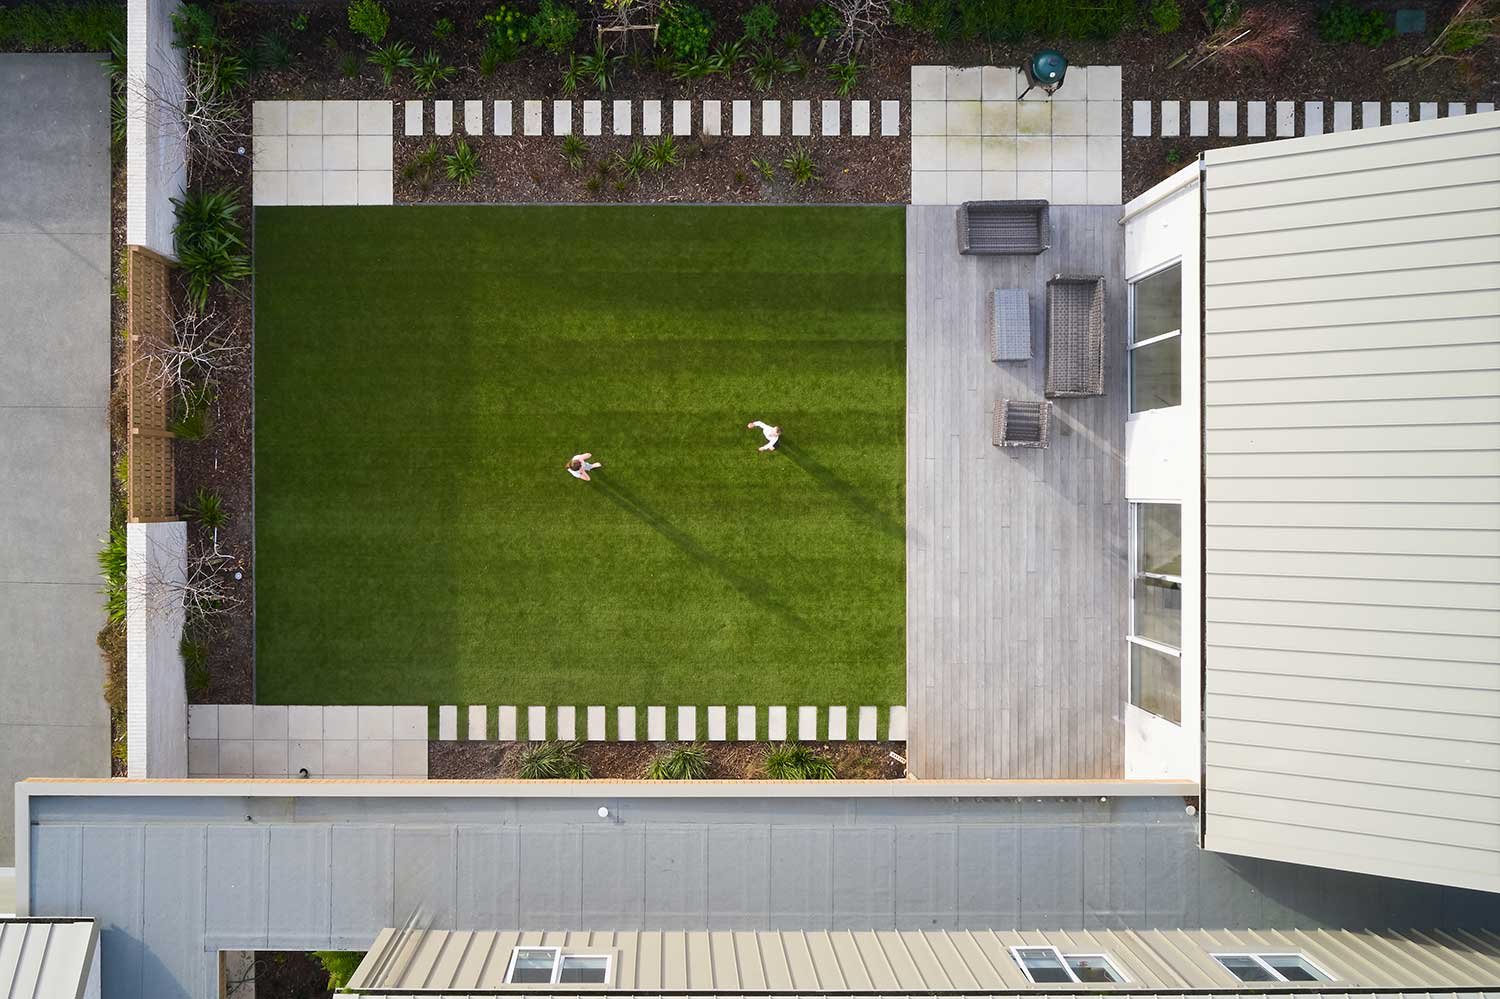
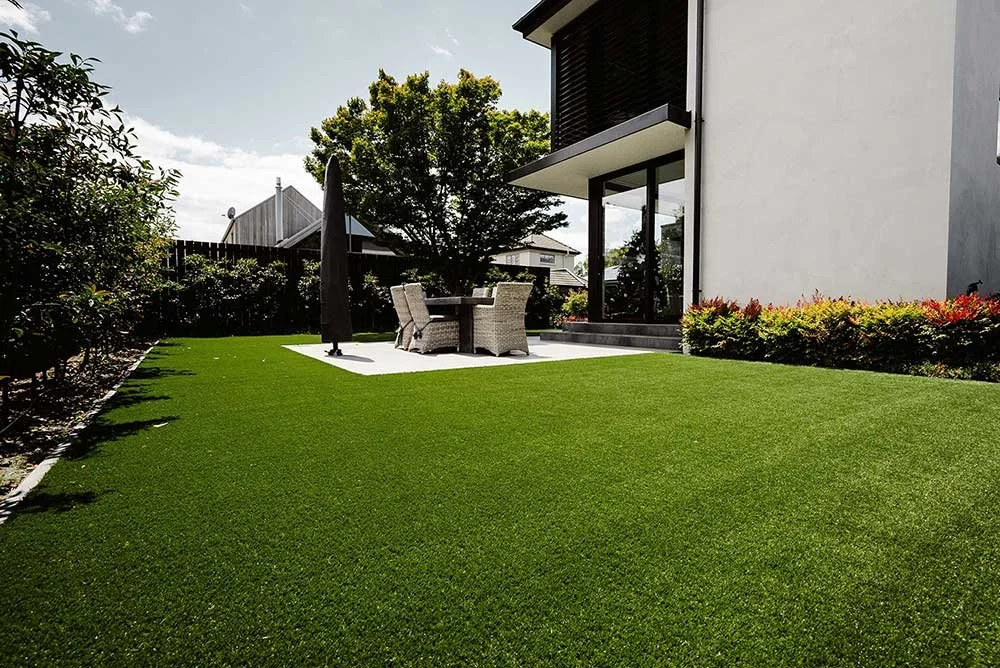
If you’re dreaming of spending more time sitting back, relaxing, and enjoying your beautiful outdoor space, and less time mowing, watering, and weeding your lawn, then artificial grass is definitely for you!

Do you need to water artificial grass?
Fake grass is the best of both worlds – you can have a pristine lawn without all of the maintenance, so you’ll have more time to spend with the family, and you’ll be saving on water too!
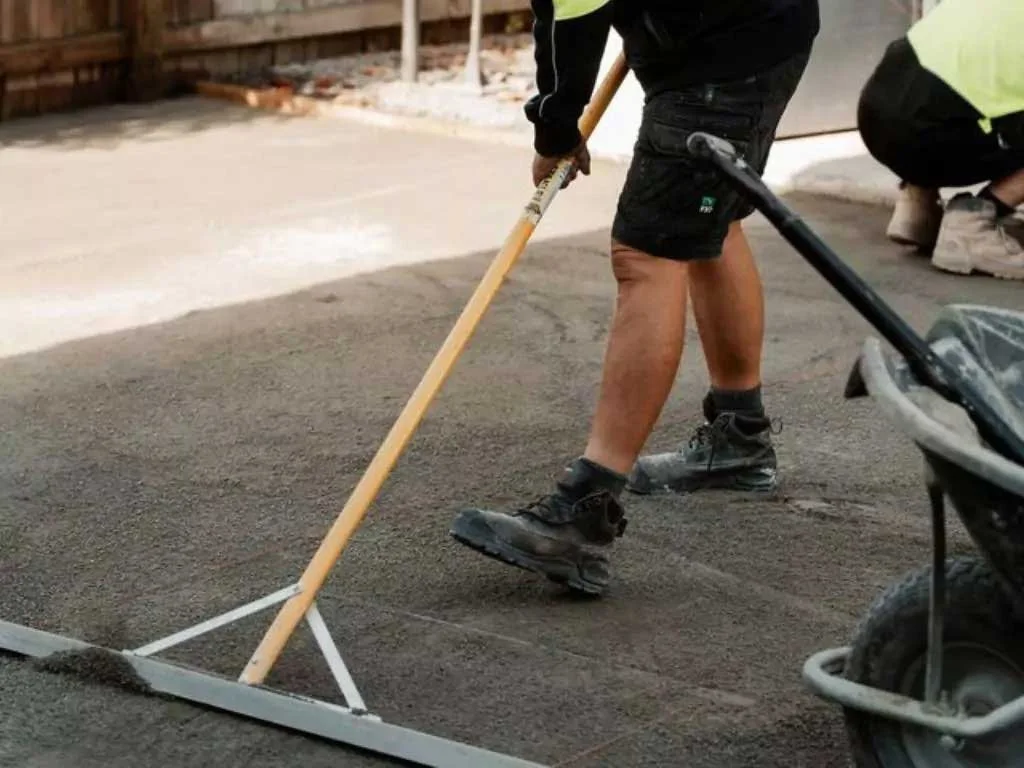
How to prepare for fake grass installation
New year, new you? How about new year, new lawn?
Everything you need to know about artificial grass colour tones
They say that the grass is always greener on the other side of the fence, but exactly which shade of green looks the greenest?

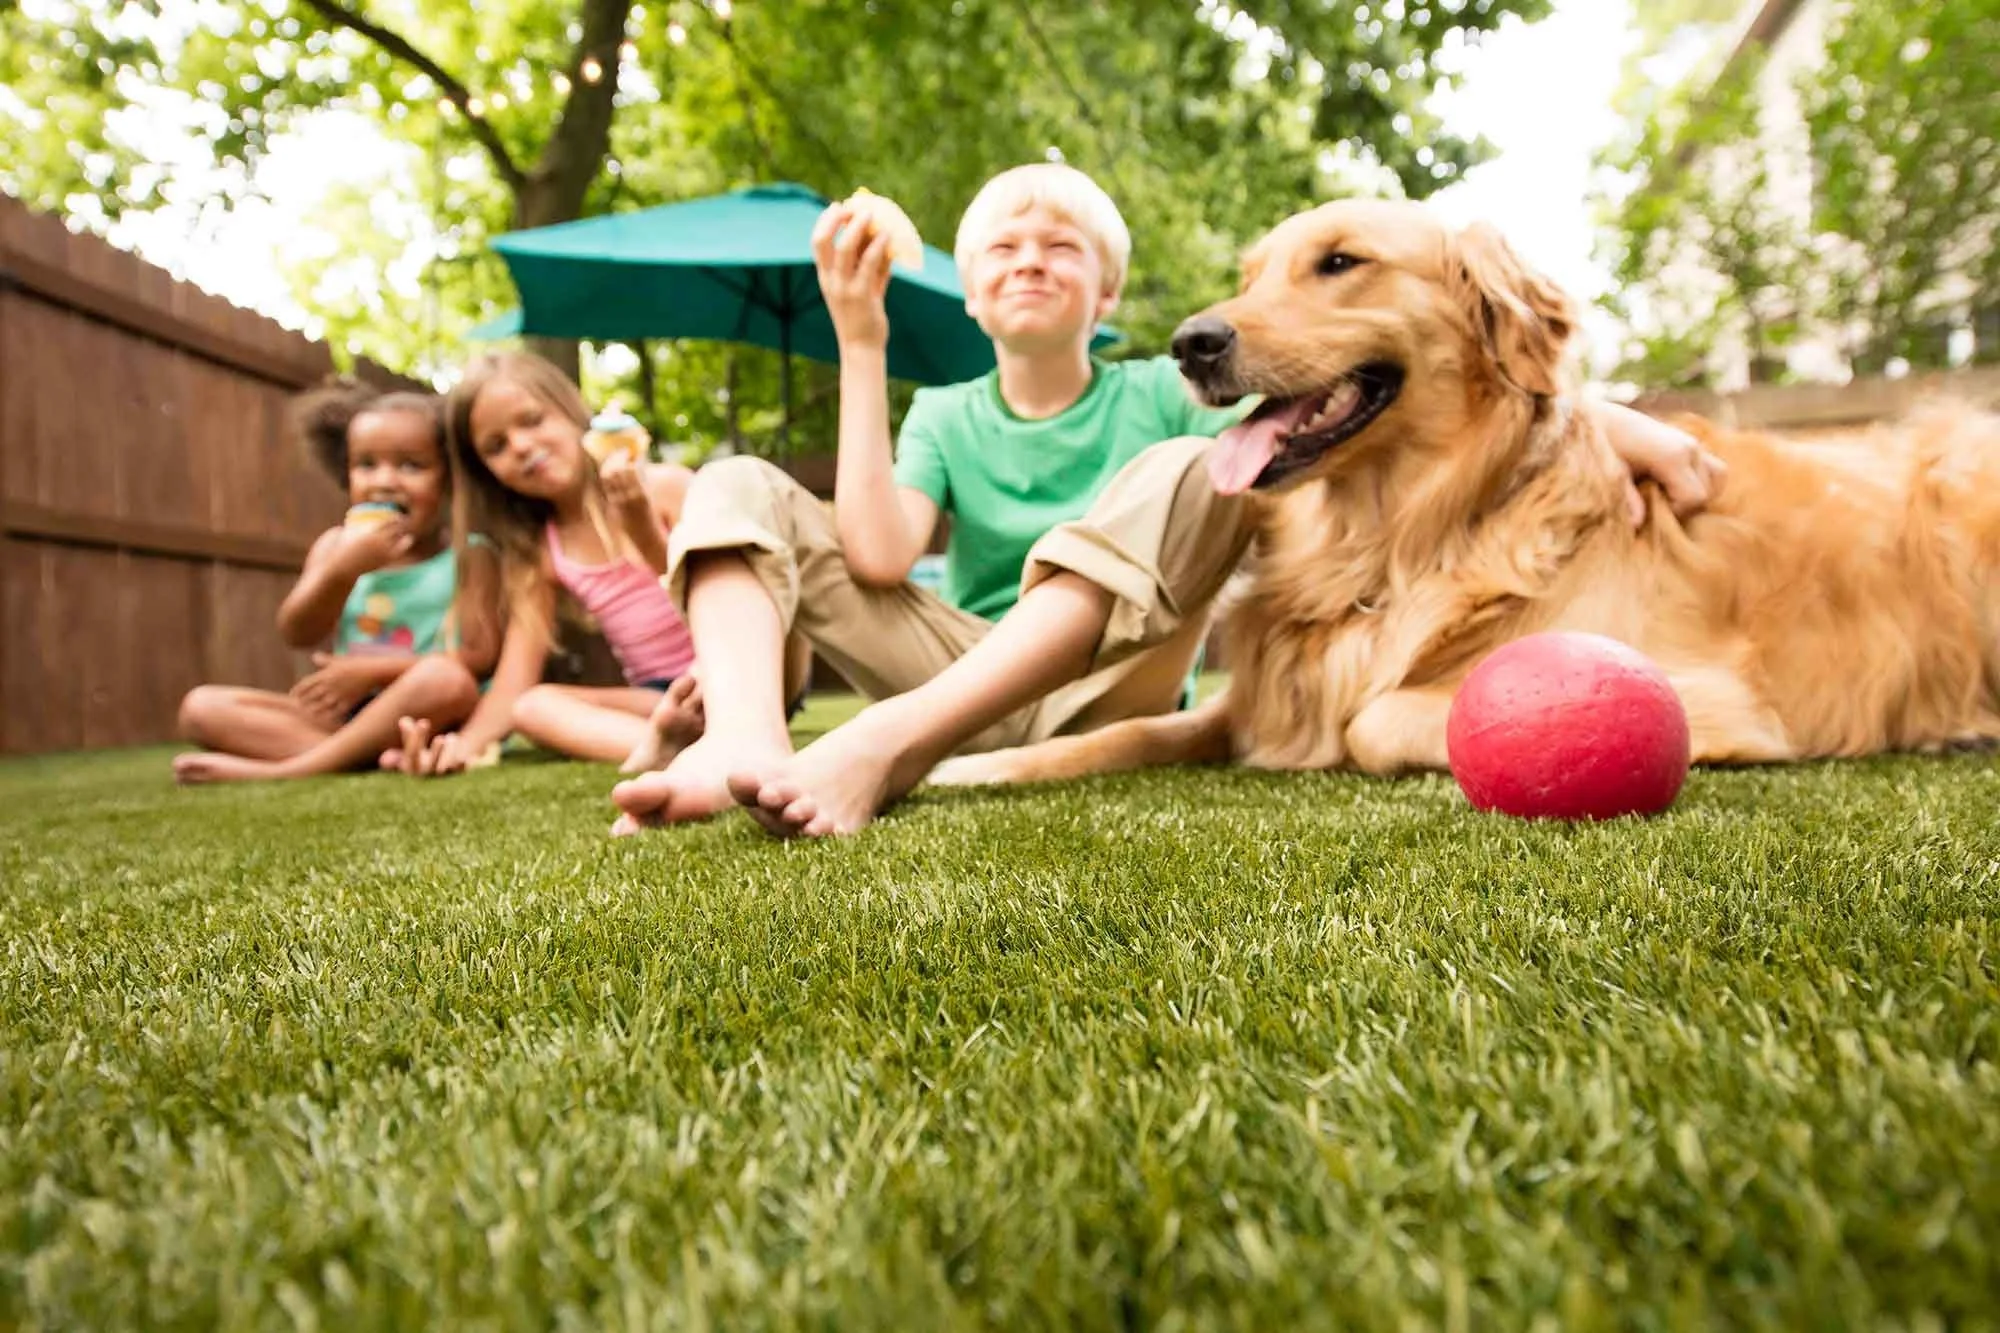
How to get rid of dog urine smell on artificial grass
At Lifestyle Lawns, we love dogs! But the reality is that every dog has to do their ones and twos somewhere, and that somewhere is probably on your lawn the majority of the time.
Which company makes the most realistic artificial grass?
If you’re looking to revamp your garden, you’re sick of mowing your lawns, or you’re working on the landscaping for your new build, you’ve probably been considering real grass vs fake grass for any lawn areas you may have.
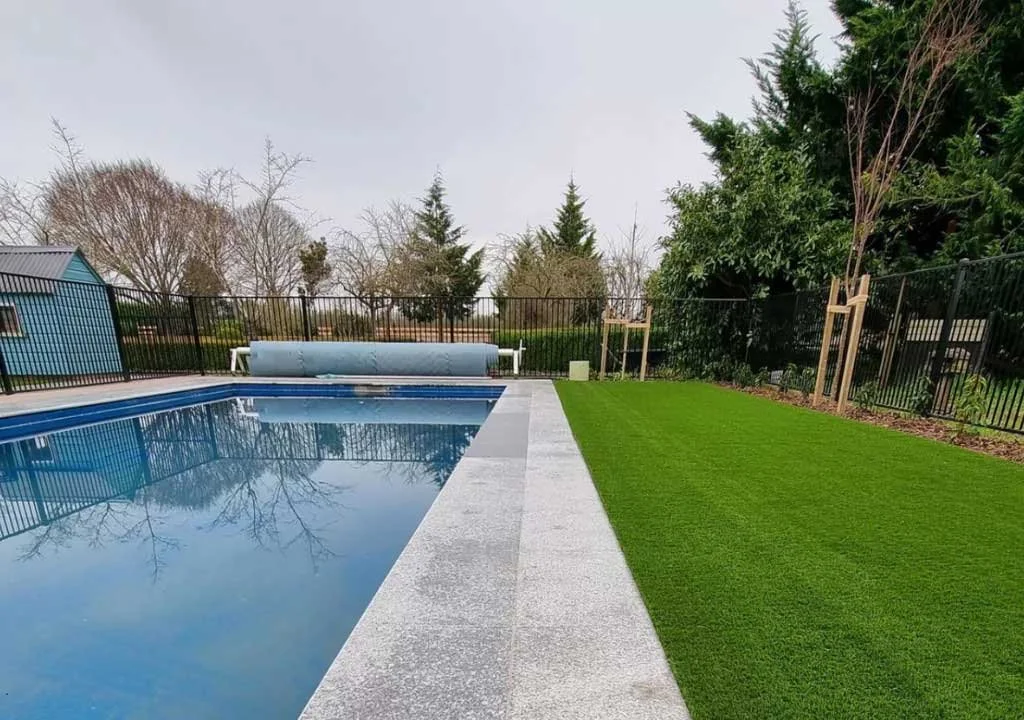
Artificial grass for pool areas: how to choose the right one?
If you’ve spent the summer cooling off in your swimming pool, watching the grass grow more and more yellow, and making a mental note to clean the tiles again, it might be time to try something new.
How to clean artificial grass: easy maintenance tips
At Lifestyle Lawns, we’ve made it our mission to show Kiwis that, when you make the switch from a traditional lawn to artificial grass, the grass really is greener on the other side.
How to choose the best artificial grass in NZ
Artificial grass is growing! In popularity, that is. If you’re sick of watering, mowing, weeding, feeding, and maintaining your lawn, the good news is that there is a solution.